As a part of the loan application process, we need the last 2 months of your bank statements for your loan application. There are three ways to upload your bank statements:
- Automatically syncing your financial institution(s) within the app (ideal scenario)
- Digital e-statement from your financial institution(s) online banking platform
- Scanned printed statements from your financial institution(s)
Syncing within the App
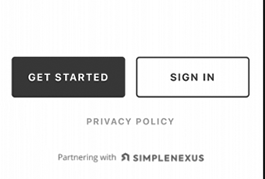
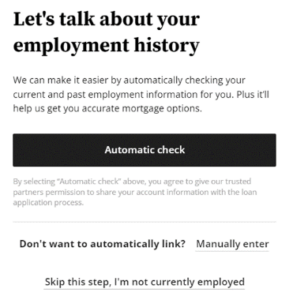
When the question comes up to verify your assets, click on the “Automatic Check” option to continue.

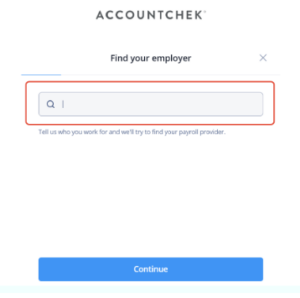
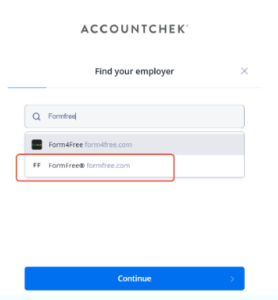
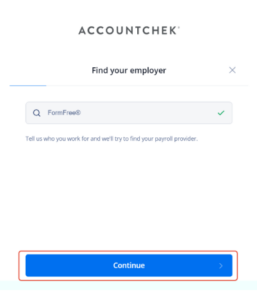
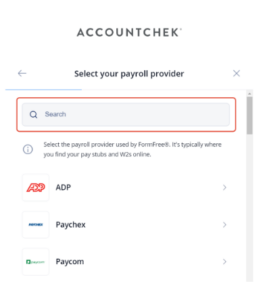
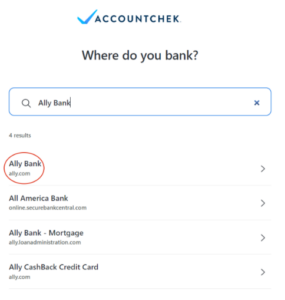
After clicking the Automatic Check button, you will be able to select and/or search your financial institution where your checking, savings, investment and/or retirement accounts are held.
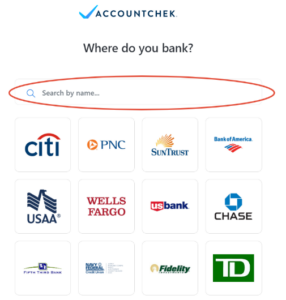
As you type, the search engine will produce a list of close matches.
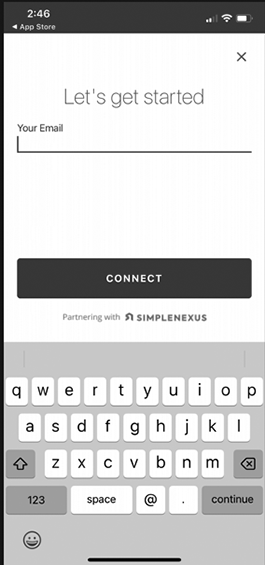
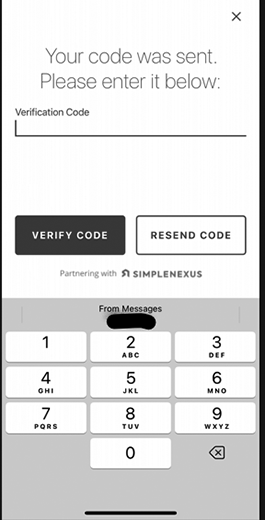
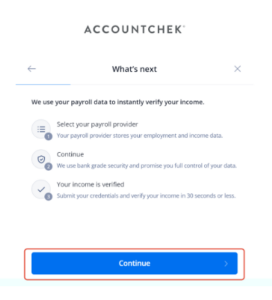
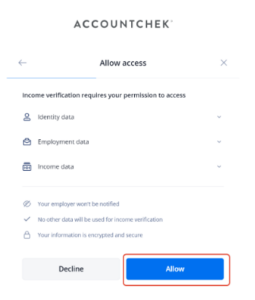
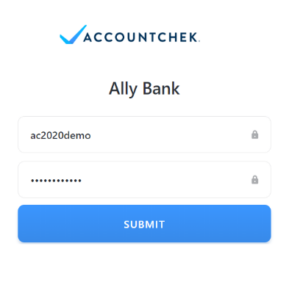
Once the login page is displayed, enter your online banking credentials to sign in. Because your security is our highest priority, your login credentials are never visible to anyone and are encrypted to ensure confidentiality.
Once AccountChek is authorized to connect to your financial institution, you will be taken to the Review and Submit page. You can click +Add Another Financial Institution to add more accounts while we finish gathering account data.
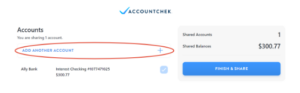
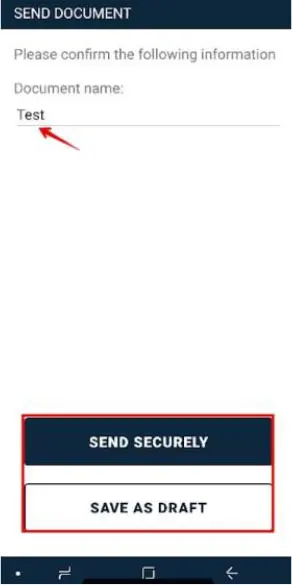
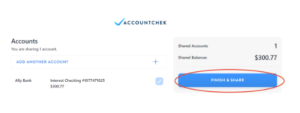
Once you have added all accounts needed to qualify for your loan, please select which accounts you would like to share by checking the checkbox to the right of each account. Once all desired accounts are Linked, click Finish & Share to complete the process! Your lender will notify you if you need to log back in and provide further information.
If you could not connect your financial institution within our automatic portal, you can provide them manually to us in the following ways:
- Digital e-statement from your financial institution(s) online banking platform
- Scanned printed statements from your financial institution(s)
Note: We need the actual bank statement with all pages listed, even if the last page is blank. We cannot use screenshots. We need a statement for each bank account you have.
Uploading Digital E-statement
Login to your financial institution’s online platform (preferably on your desktop)
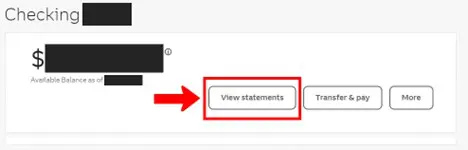
Typically, there should be a section under your account that says “Documents” or “Statements.” Below are two examples of how it might look:

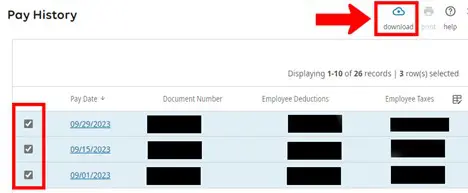
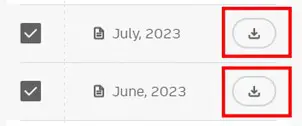
On this page, you should be able to select the statements you would like to download by either a download icon (arrow pointing down) or selecting the check box next to the two months of statements you would like to download. An example of how it might look:
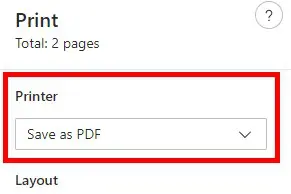
When you click the download button, you will need to save these as a PDF to your computer. To save, you can do so by clicking “Save As” on the initial download or if they open on your computer you can click “File” and then “Save As.” Or, you can click the “Print” icon or “File” and then “Print” then you could change the Printer to “Save to PDF.” Example below:

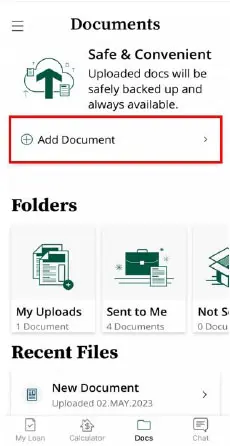
Finally, login to your Simple Nexus application and upload these documents directly within your portal. Go to the “Documents” tab and upload the PDF.
Scanning Printed Statements:
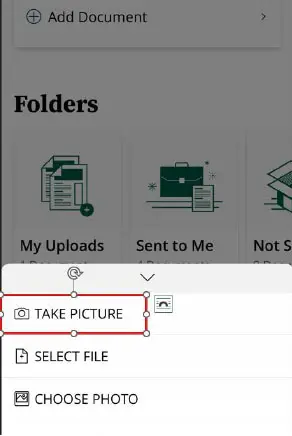
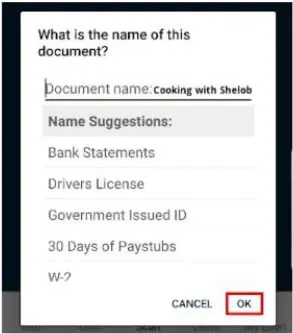
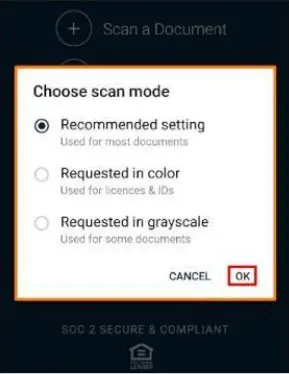
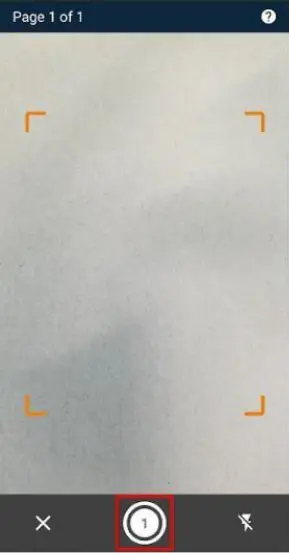
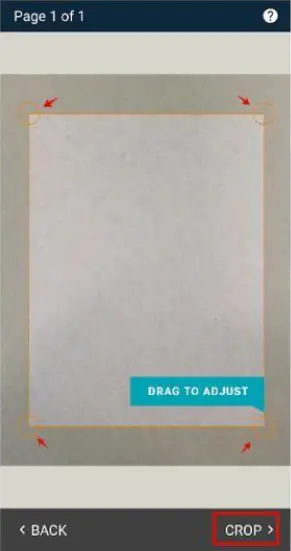
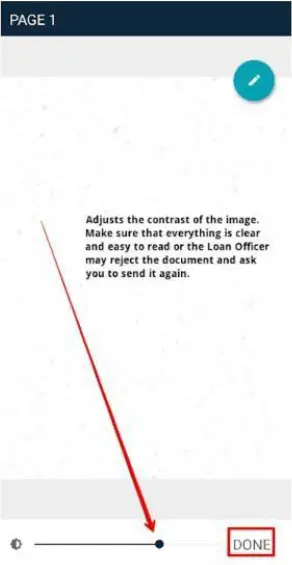
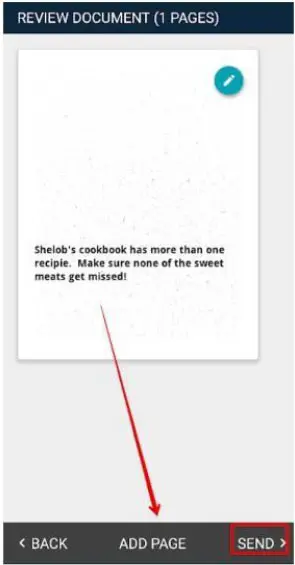
To scan printed statements, please view the how-to guide below that says “How do I scan documents within the mobile app?”